

This lesson is made with PSPX9
But is good with other versions.
© by SvC-Design

Materialen Download :
Here
******************************************************************
Materials:
Silvie_Mask_Art2KO.jpg
DECO PERSO 1 197 MAI 2023 SWEETY.png
DECO PERSO 2 197 MAI 2023 SWEETY.png
PALETTE COULEURS VERSION 1.png
SELECTION 1 197 .PspSelection
SELECTION 2 197 .PspSelection
SELECTION 3 197 .PspSelection
SELECTION 4 197 .PspSelection
SELECTION 5 197 .PspSelection
SELECTION 6 197 .PspSelection
SELECTION 7 197 .PspSelection
c78ec752d7accbfd9fea18bb48c8550d.jpg
MAI 2023 COCCINELLE 18 05 23 SWEETY.png
MAI 2023 MIST MARJORIE 15 05 23 SWEETY.png
MAI 2023 THEO 18 05 23 SWEETY.png
******************************************************************
Plugin:
Effects – plugin - VM Distortion Vision - impossible
Effects – plugin - MuRa’s Seamless - Emboss at Alpha
Effects – plugin - MuRa's Filter Meister - Perspective Tiling
Effects – plugin - VM Toolbox - Zoom Blur
Effects - plugin - AAA Frames - Foto Frame
******************************************************************
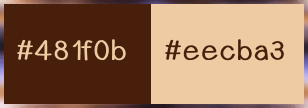
color palette
:
******************************************************************
methode
When using other tubes and colors, the mixing mode and / or layer coverage may differ
******************************************************************
General Preparations:
First install your filters for your PSP!
Masks: Save to your mask folder in PSP, unless noted otherwise
Texture & Pattern: Save to your Texture Folder in PSP
Selections: Save to your folder Selections in PSP
Open your tubes in PSP
******************************************************************
We will start - Have fun!
Remember to save your work on a regular basis
******************************************************************
1.
Choose an image you like...
Take two colours from it: Foreground (FF): Dark / Background (BG): Light.
Open a 950/600 transparent layer.
Selection - Select All
Open c78ec752d7accbfd9fea18bb48c8550d.jpg
Edit - Copy.
Edit - Paste into selection.
Selection - Select None
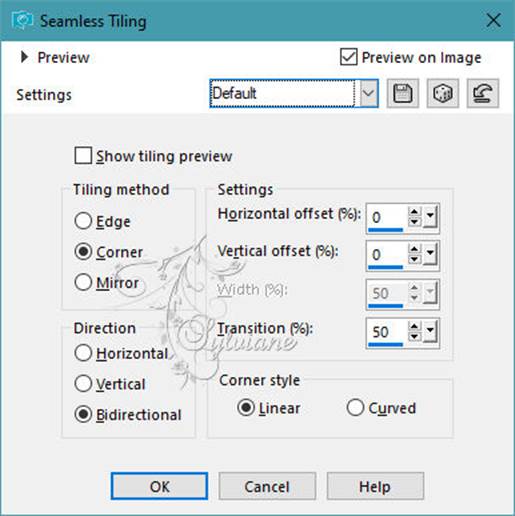
Effects - Image Effects - Seamless Tiling- default
Adjust - blur - gaussian blur
range: 30
==================================================
2.
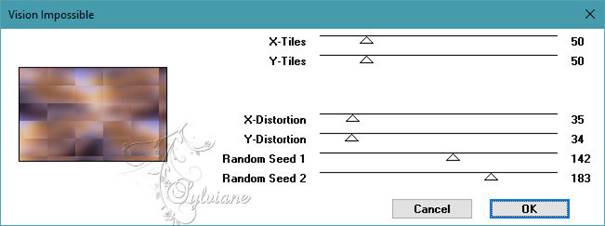
Effects – plugin - VM Distortion Vision - impossible
(This effect can be run from Unlimited 2.0)
Layers - Duplicate
Image - Mirror – mirror Horizontal
Image - Mirror - Vertical Mirror
Mode of this layer : * Overlay * or other as desired
I set the opacity of this layer to 60%).
Layers - Merge - Merge visible layers
==================================================
3.
Layers - New Raster Layer
Fill with the light color
Open the mask * Silvie-Mask-Art2 KO * - on the desktop.
TO DO ON THE
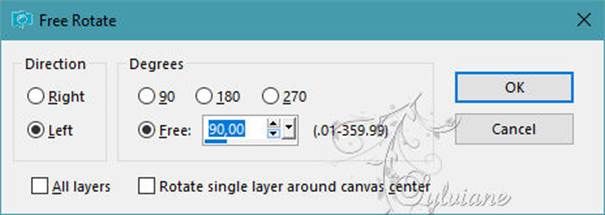
Image - Free Rotate
On our work in progress ...
Layers - New Mask Layer - From Image - Silvie_Mask_Art2KO.jpg
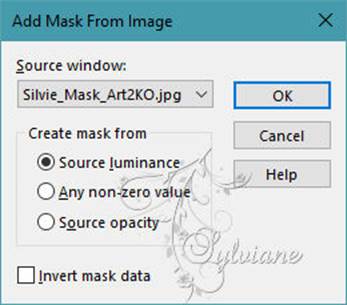
Layers - Merge - Merge Group
Effects - 3D effects - Drop shadow: 0 / 0 / 50 / 50 color: AVP
==================================================
4.
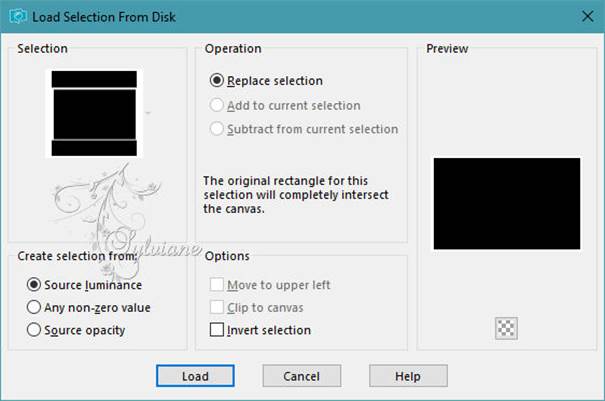
Selections - Load / Save - Load selection from disk - SELECTION 1 197 .PspSelection
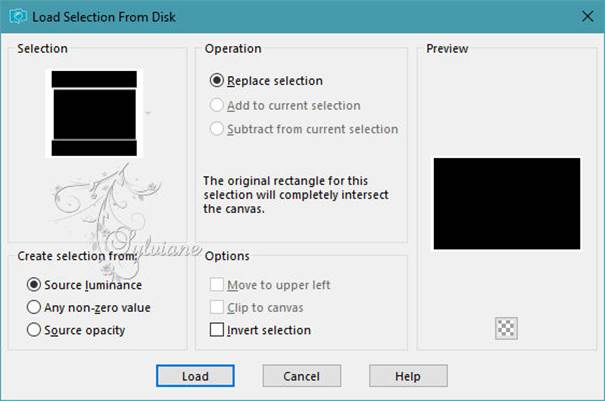
Delete or delete using the keyboard.
Selection - Select None
Effects – plugin - MuRa’s Seamless - Emboss at Alpha – default
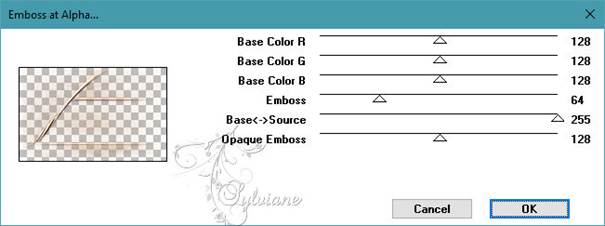
Selections - Load / Save - Load selection from disk - SELECTION 2 197 .PspSelection
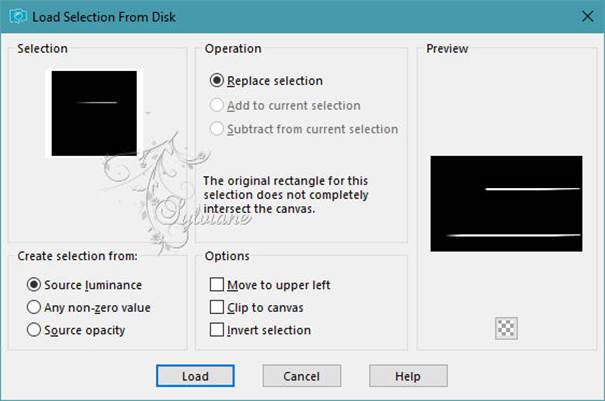
Fill the selection with the ARP colour
Effects – plugin - MuRa’s Seamless - Emboss at Alpha – default
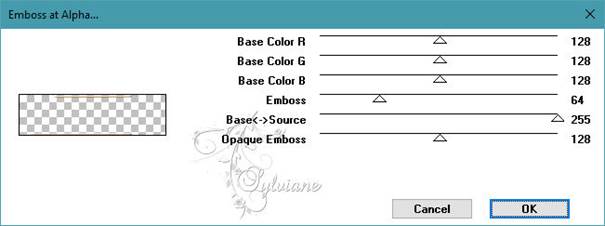
Selection - Select None
==================================================
5.
Selections - Load / Save - Load selection from disk - SELECTION 3 197 .PspSelection
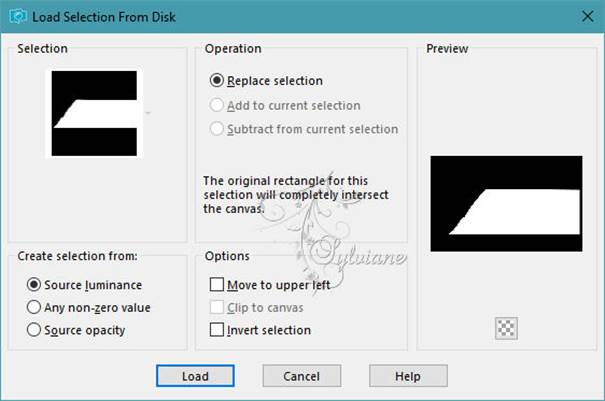
Layers - New Raster Layer
Layers – arrange – move down
Open c78ec752d7accbfd9fea18bb48c8550d.jpg
Edit - Copy.
Edit - Paste into selection.
Layer opacity between 75 and 85%.
Selections - Invert
Effects - 3D effects - Drop shadow: 0 / 0 / 100 / 50 / Black
Selection - Select None
activate the top layer
Open DECO PERSO 1 197 MAI 2023 SWEETY.png
Edit - Copy.
Edit - Paste as new layer
Layers – arrange – move down
Layer mode of your choice ...
For my 1st version I set it to * Overlay *
Opacity at 25% (it's up to you what you like best).
Layers – merge – merge down
==================================================
6.
Our layers and tag:
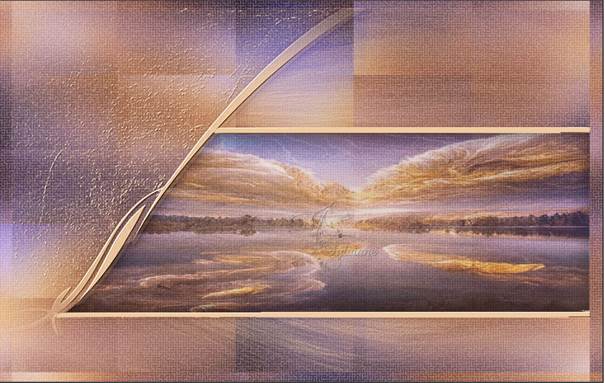
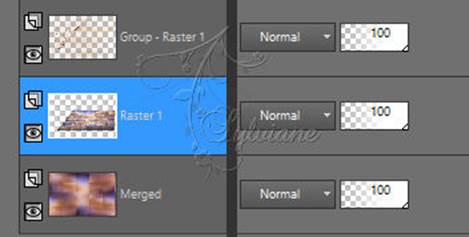
Activate Merged
Selections - Load / Save - Load selection from disk - SELECTION 1 197 .PspSelection
Effects – 3D effects – inner bevel
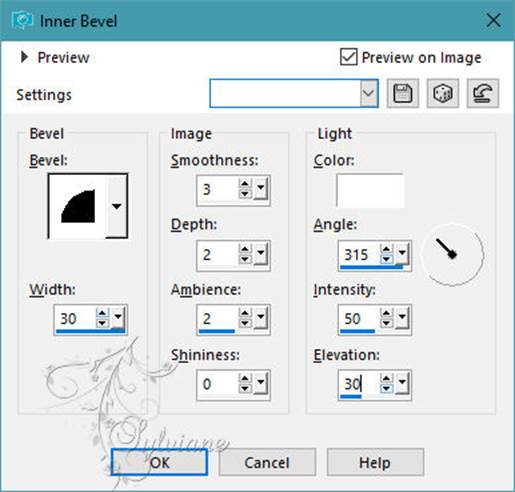
Edit – repeat inner bevel
Selections – Promote selections to layer
Selection - Select None
==================================================
7.
The result is as follows:
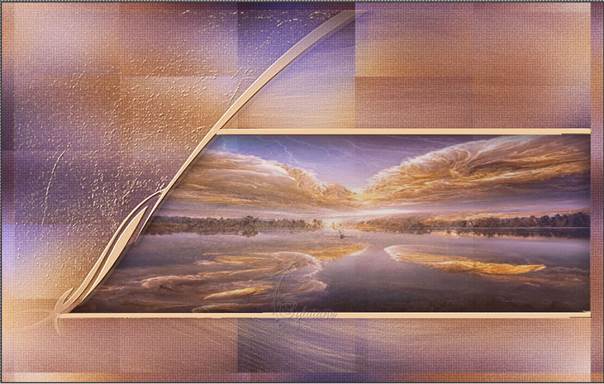
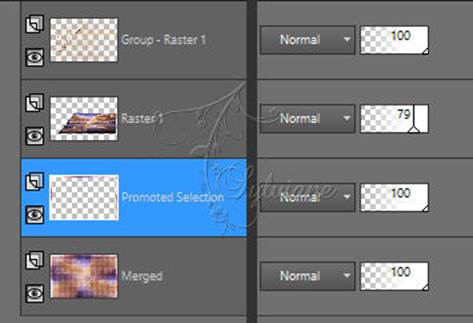
We are on Promoted Selection
Activate Merged
Activate Selection - Custom selection
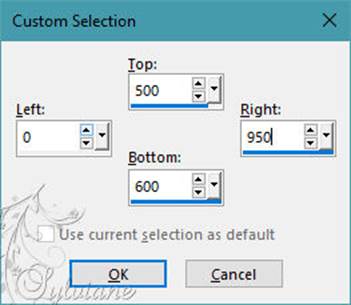
Selections – Promote selections to layer
Effects – plugin - MuRa's Filter Meister - Perspective Tiling - by default :
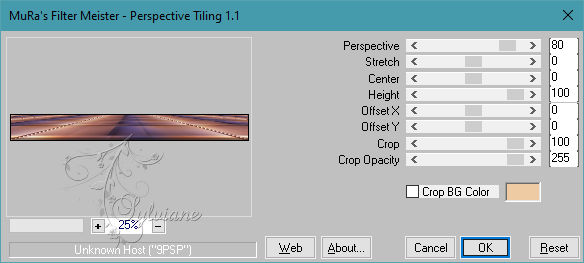
Effects – reflection effects – rotating mirror
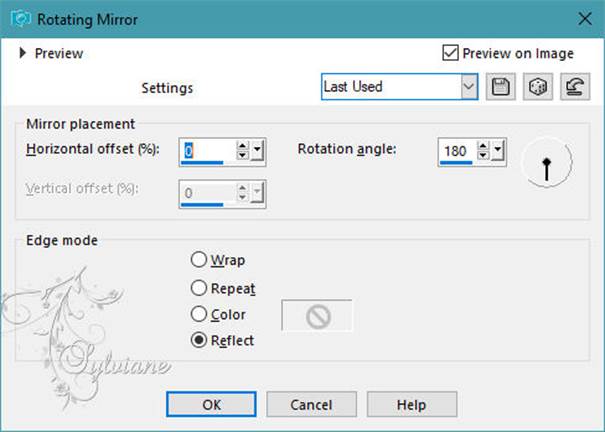
Selections - Load / Save - Load selection from disk - SELECTION 4 197 .PspSelection
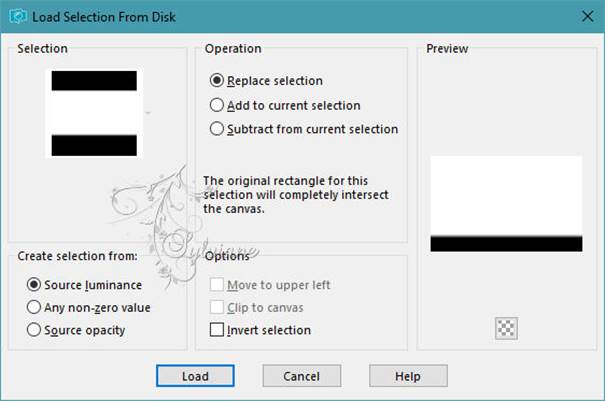
Delete or delete with the keyboard 4 times.
Selection - Select None
==================================================
8.
Activate Raster 1
Layers - arrange - move up
opacity : 75%
Edit – copy special- copy merged
Selection - Select All
Image - Add Borders – symmetric - 30px - (No matter the colour)
Selections - Invert
Edit - Paste into selection
Keep selection active...
==================================================
9.
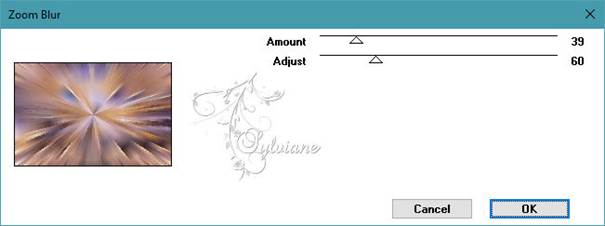
Effects – plugin - VM Toolbox - Zoom Blur - default:
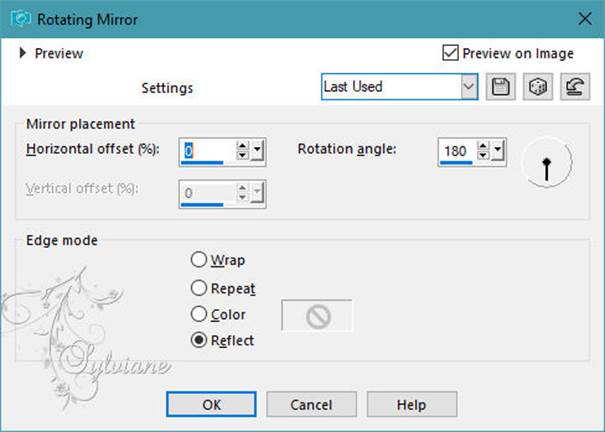
Effects – reflection effects – rotating mirror
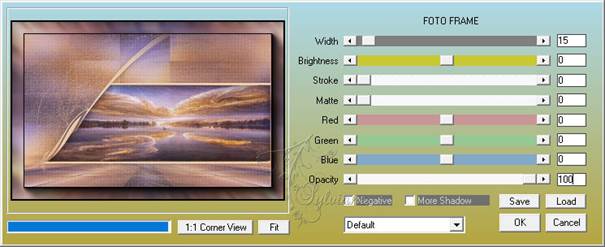
Effects - plugin - AAA Frames - Foto Frame
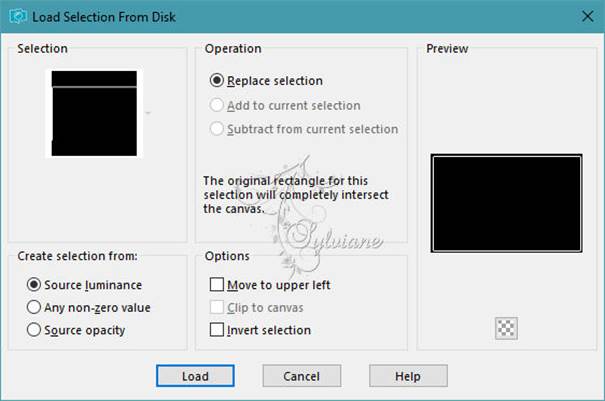
Selections - Load / Save - Load selection from disk - SELECTION 5 197 .PspSelection
(This will cancel the previous selection)
Fill the selection with the ARP colour.
Selections - Load / Save - Load selection from disk - SELECTION 6 197 .PspSelection
(This will cancel the previous selection)
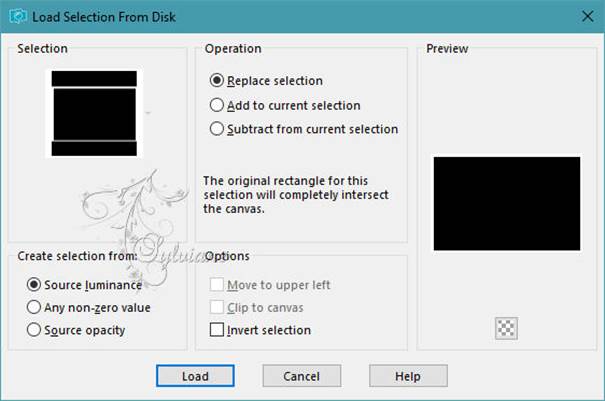
Layers - New Raster Layer
Open DECO PERSO 2 197 MAI 2023 SWEETY.png
Edit - Copy.
Edit - Paste into selection
Layer mode of your choice ...
Blend Mode: Overlay
opacity :25% (it's up to you what you like best)
Layers – merge – merge down
Effects – 3D effects – inner bevel
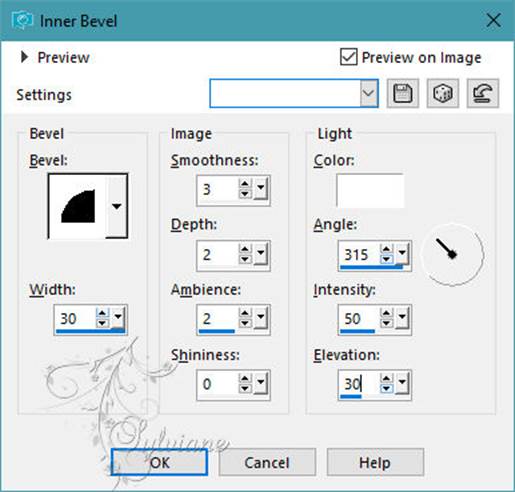
Repeat this effect a 2nd time
Selection - Select None
==================================================
10.
Layers - New Raster Layer
Selections - Load / Save - Load selection from disk - SELECTION 7 197 .PspSelection
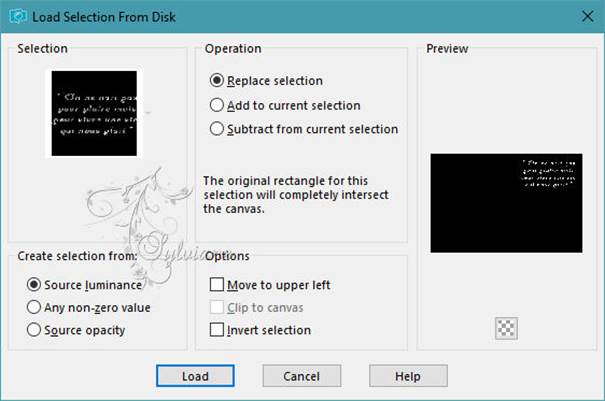
Fill with the AVP or ARP colour of your choice.
Selection - Select None
==================================================
Open MAI 2023 MIST MARJORIE 15 05 23 SWEETY.png
Edit – Copy
Edit - Paste as new layer
Resized to 48%
place her in the example
==================================================
Open MAI 2023 THEO 18 05 23 SWEETY.png
Edit – Copy
Edit - Paste as new layer
Image - Mirror – mirror Horizontal
Resized to 50%
==================================================
Open MAI 2023 COCCINELLE 18 05 23 SWEETY.png
Edit – Copy
Edit - Paste as new layer
Choice of shadows on each element
==================================================
11.
Image - Add Borders – symmetric - 2px - color ARP
Affix your signature and mine if you wish
Layer – merge – merge all (flatten)
Resize to 950 pixels
Save as JPEG
Back
Copyright Translation 2023 by SvC-Design